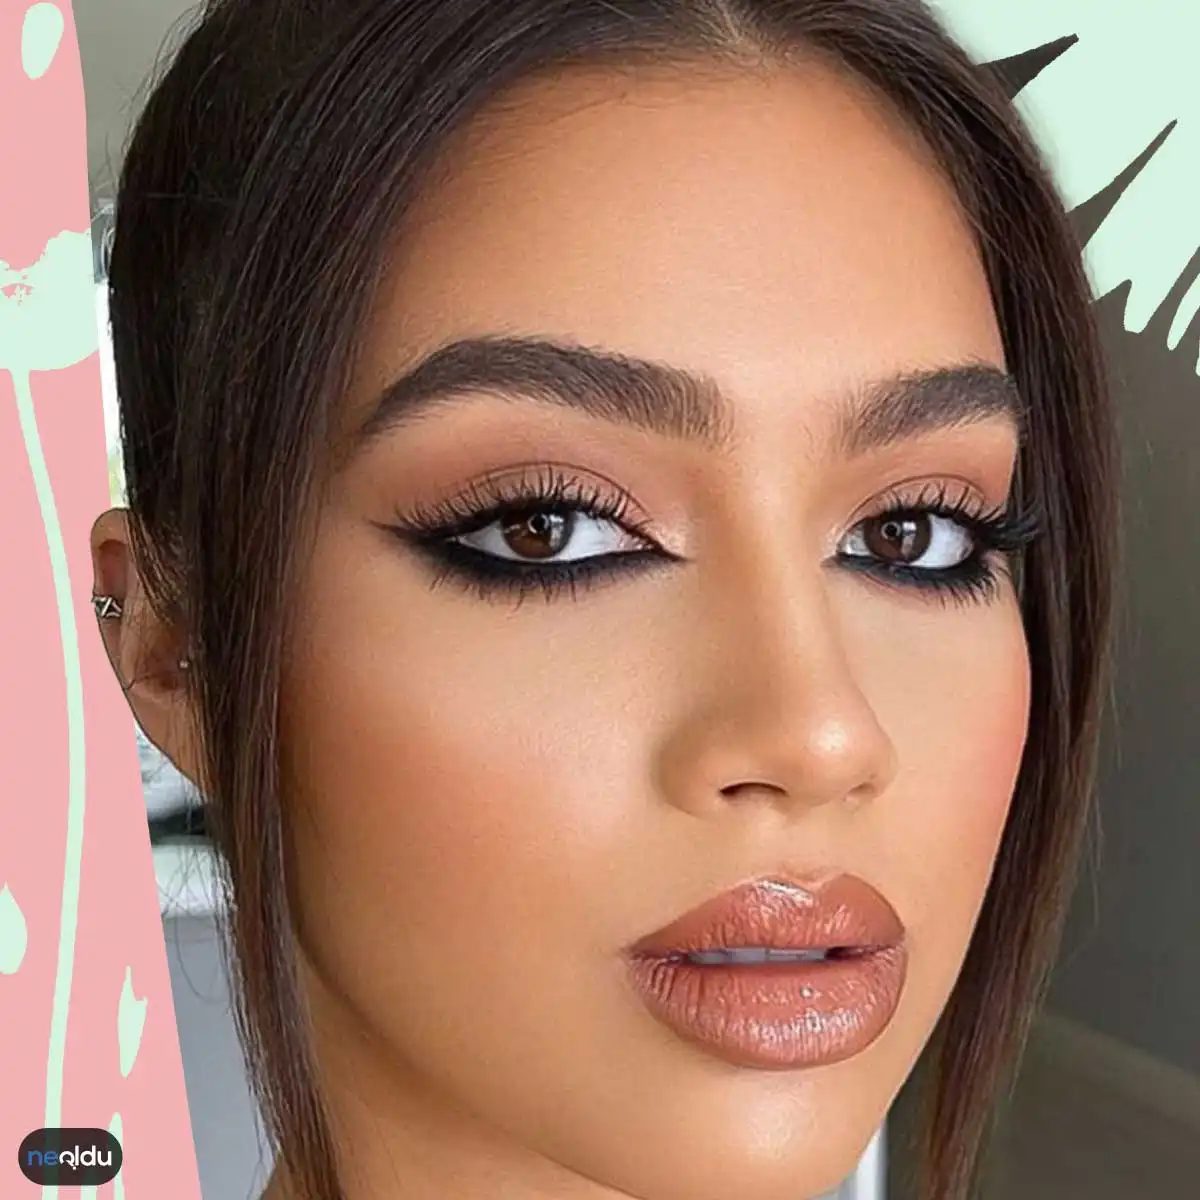
Kedi Göz Makyajı isn’t just a trend. It’s a specific aesthetic goal. Think of it as lifting the outer corner of your eye to create that sharp, elongated look. The style relies heavily on extending and curling the upper lashes. This combination gives the eye a cat-like appearance.
The primary purpose is simple. You want to highlight your eyes. You want them to look fuller and more open. It’s a technique that draws immediate attention to the upper lash line.
The Eye Makeup Trick for Wider, More Open Eyes
You’ve probably seen it online. That sharp, winged liner that lifts the corners and makes the eyes look wider, brighter. It’s not just a trend. It’s a technique designed to simulate openness. To get it right, you need more than just a pencil. You need to understand the tools, the angles, and the specific steps involved in applying cat-eye makeup correctly.
Choosing the Right Tools
Start with the right products. A liquid liner gives precision. A felt tip offers control. Gel liners provide intensity. For beginners, a felt tip or a fine brush with gel is often easier to manage than a liquid pot with a thin brush.
Consider the formula. Waterproof is better for longevity. Matte finishes look sharper on the lid. Shimmer can highlight the inner corner.
Step-by-Step Application
- Prime the lid. Clean skin helps the liner adhere. A small amount of primer or concealer creates a smooth base.
- Draw the initial line. Start at the inner corner. Keep it thin. Move outward toward the outer edge.
- Create the wing. This is the key part. Imagine an extension of your lower lash line. Draw a line from the outer corner toward the end of your eyebrow. This angle lifts the eye.
- Connect the lines. Draw from the tip of the wing back to the center of your upper lash line. Fill in the triangle shape.
- Refine the shape. Use a small brush dipped in makeup remover or concealer to clean up the edges. This sharpens the wing and makes the eye look more open.
Common Mistakes to Avoid
- Drawing too thick at the inner corner. This weighs the eye down. Keep it light there.
- Ignoring the lower lash line. A faint smudge or thin line on the outer lower lid can balance the look.
- Using the wrong angle. If the wing points down, it drags the face. If it points too high, it looks unnatural. Aim for a slight upward tilt.
Why It Works
This style mimics the natural shape of feline eyes. Cats have upward-slanting outer corners. Humans have rounder eyes. By extending the liner upward, you alter the perceived geometry of the eye. It creates an illusion of width. It also draws attention to the eyes themselves, making them the focal point of the face.
Maintaining the Look
Smudging can ruin the sharpness. Set the liner with a matching eyeshadow. Use a setting spray. If you’re prone to oily lids, an eyeshadow primer is essential.
Practice makes perfect. Start with short wings. Gradually increase the length and thickness as you gain confidence. Use a steady hand. Rest your elbow on a stable surface. Breathe.
The goal isn’t just a pretty line. It’s about enhancing the natural structure of your face. It’s about looking awake. Alert. Sharp.
Try it in natural light. Check the symmetry. Adjust if needed. It’s a small change. But it makes a significant difference in how you look. And how you feel.
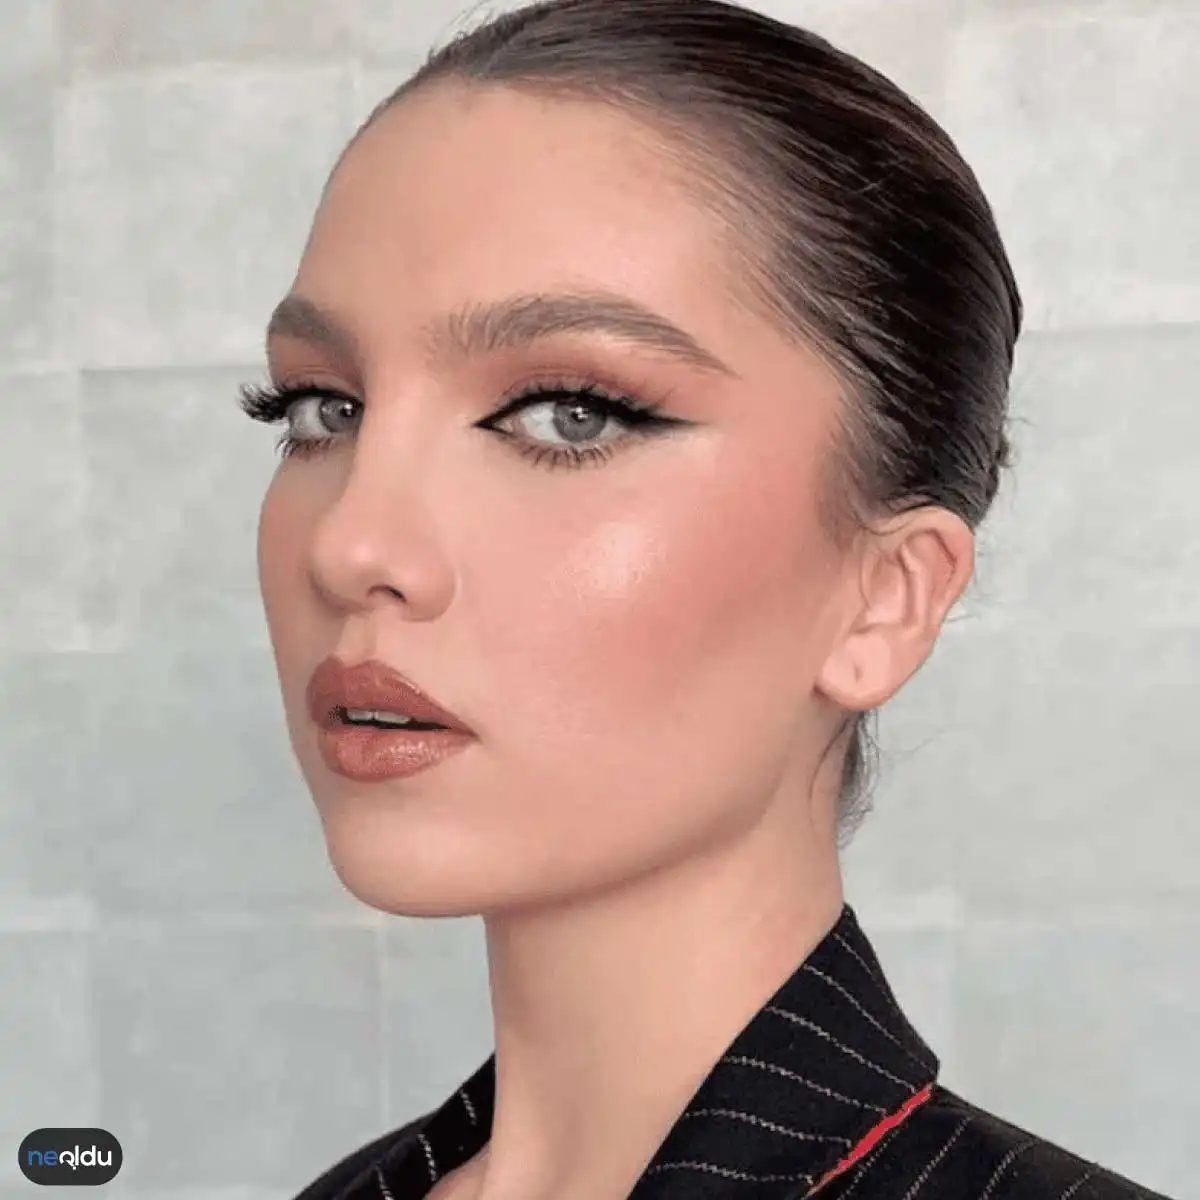
Kedi Göz Makyajı Nasıl Yapılır? Adım Adım Pratik Rehber
Gece davetlerinin vazgeçilmez makyajı kedi göz, kadınları etkisi altına alıyor. Kedi göz makyajı uygulaması zor gibi görünse de aslında pratik yolları deneyince kolay bir hal alıyor. Birkaç adımı izleyerek kedi göz makyajını yapabilirsiniz.
Ten makyajı için ilk önce primer, daha sonra fondöten uygulayınız. Aydınlatıcı uygulayarak net bir görünüme sahip olunuz. Dayanıklı olması için krem far uygulayınız. Göz kapağının tümüne açık ve koyu renk farı karıştırarak uygulayınız.
Koyuluğu belirledikten sonra açık renk far ile kaynaştırınız. Kalın bir eyeliner kullanınız. Eyelinerı sürmeden önce kirpik dibinden başlayarak ortaya doğru kalınlaşan bir çizgi çekiniz. Daha sonra tam şekli alması için jel eyeliner ile üzerinden geçiniz.
Alt kirpiğe de aynı uygulamayı yapınız. Altan ince yukarı doğru kalınlaşan bir çizgi çekiniz ve iyice belirginleştiriniz. Göz içine siyah göz kalemi uygulayınız. Son olarak maskara uygulayınız. Kedi göz makyajınız hazır.
Sıra Dışı Kedi Göz Makyajı Fikirleri
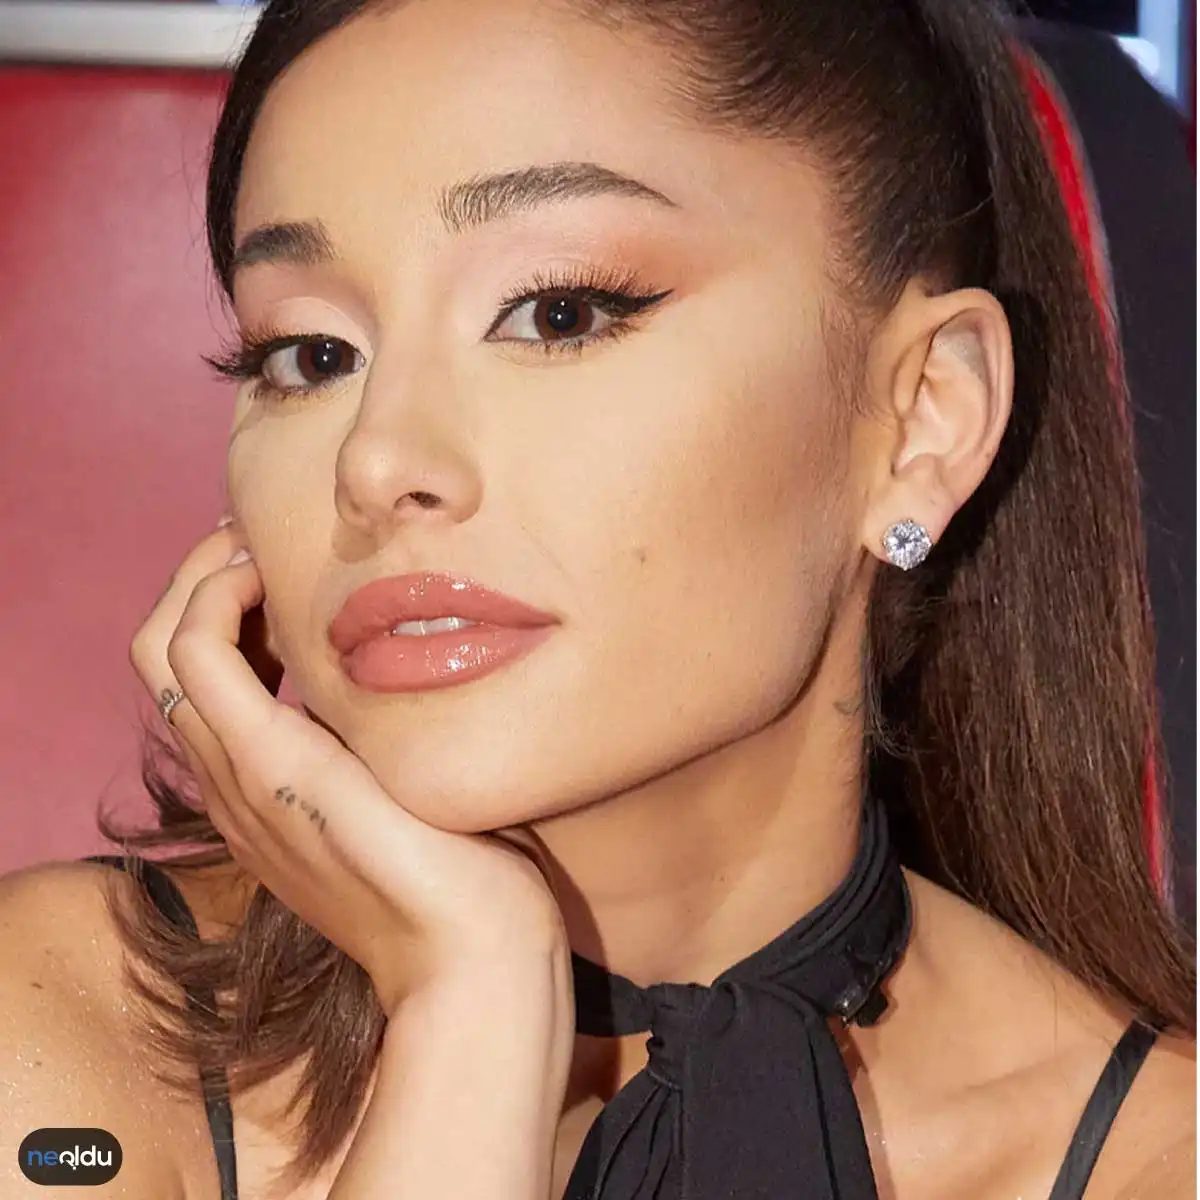
Sıradışı Kedi Göz Makyajı: Farklı ve Çarpıcı Fikirler
Standart siyah çizgiden sıkıldıysan ve göz şeklini vurgulayan ama sıradışı bir kedi göz makyajı denemek istiyorsan, burada sana ilham verebilecek bazı alternatifler var. Gözlerini sadece bir çizgiyle değil, renk ve form oyunlarıyla konuşturabilirsin.
İlk durak: Renk ve desen denemeleri. Siyah veya kahve yerine göz kapağına cesur bir renk taşımayı düşünebilirsin. Yeşil, sarı veya mavi tonları beklenmedik bir kontrast yaratır. Özellikle floresan renkleri kullanarak gözlerini dışarıda daha belirgin hale getirebilirsin. Bu, klasik kedi gözünden farklı bir farklı kedi göz makyajı tarzı arayanlar için ideal bir yol.
İkinci fikir: Şekil oyunları. Klasik üçgen yerine göz kapağını yuvarlak veya çok daha uzun, keskin hatlarla boyayabilirsin. Dış köşeleri açık, iç köşeleri koyu tutmak da dikkat çeken bir görünüm sağlar. Bu teknik, göz şeklini değiştirmek isteyenler için göz şeklini vurgulayan makyaj yöntemlerinden biri.
Üçüncü fikir: Tematik desenler. Göz kapağına yaprak, böcek, maske veya çizgi desenler ekleyerek daha eğlenceli ve ilginç bir hava katabilirsin. Bu, sıra dışı kedi göz makyajı fikirleri arasında en yaratıcı olanlardan biri. Kendine özgü bir stil yaratmak için bu fikirleri denemeyi ihmal etme.
Basit ve Hızlı Kedi Göz Makyajı Nasıl Çekilir?
Eğer zamanın kısıtlıysa veya basit bir basit kedi göz makyajı uygulaması istiyorsan, işte hızlı bir rehber:
- Hazırlık: Göz kapaklarını temizleyip, göz alı kremi veya fondöten sürerek düz bir zemin oluştur.
- Çizgi: Göz kırpma kenarından başlayarak dış köşeye doğru ince bir çizgi çek.
- Kalınlaştırma: Çizginin dış kısmını hafifçe kalınlaştırarak üçgen bir form oluştur.
- Bitirme: Göz kalemi veya eyeliner ile çizgiyi netleştir. Göz kirpiklerine maskara sürerek tamamla.
Bu adımlar, hızlı kedi göz makyajı yaparken işini kolaylaştırır. Pratik yaptıkça daha hızlı ve pürüzsüz sonuçlar alırsın.
Hangi Kedi Göz Makyajı Tarzı Hangi Göz Şekline Uyar?
Her göz şekli farklı bir kedi göz makyajı uygulaması gerektirir. Örneğin:
- Yuvarlak Gözler: Üst köşeye
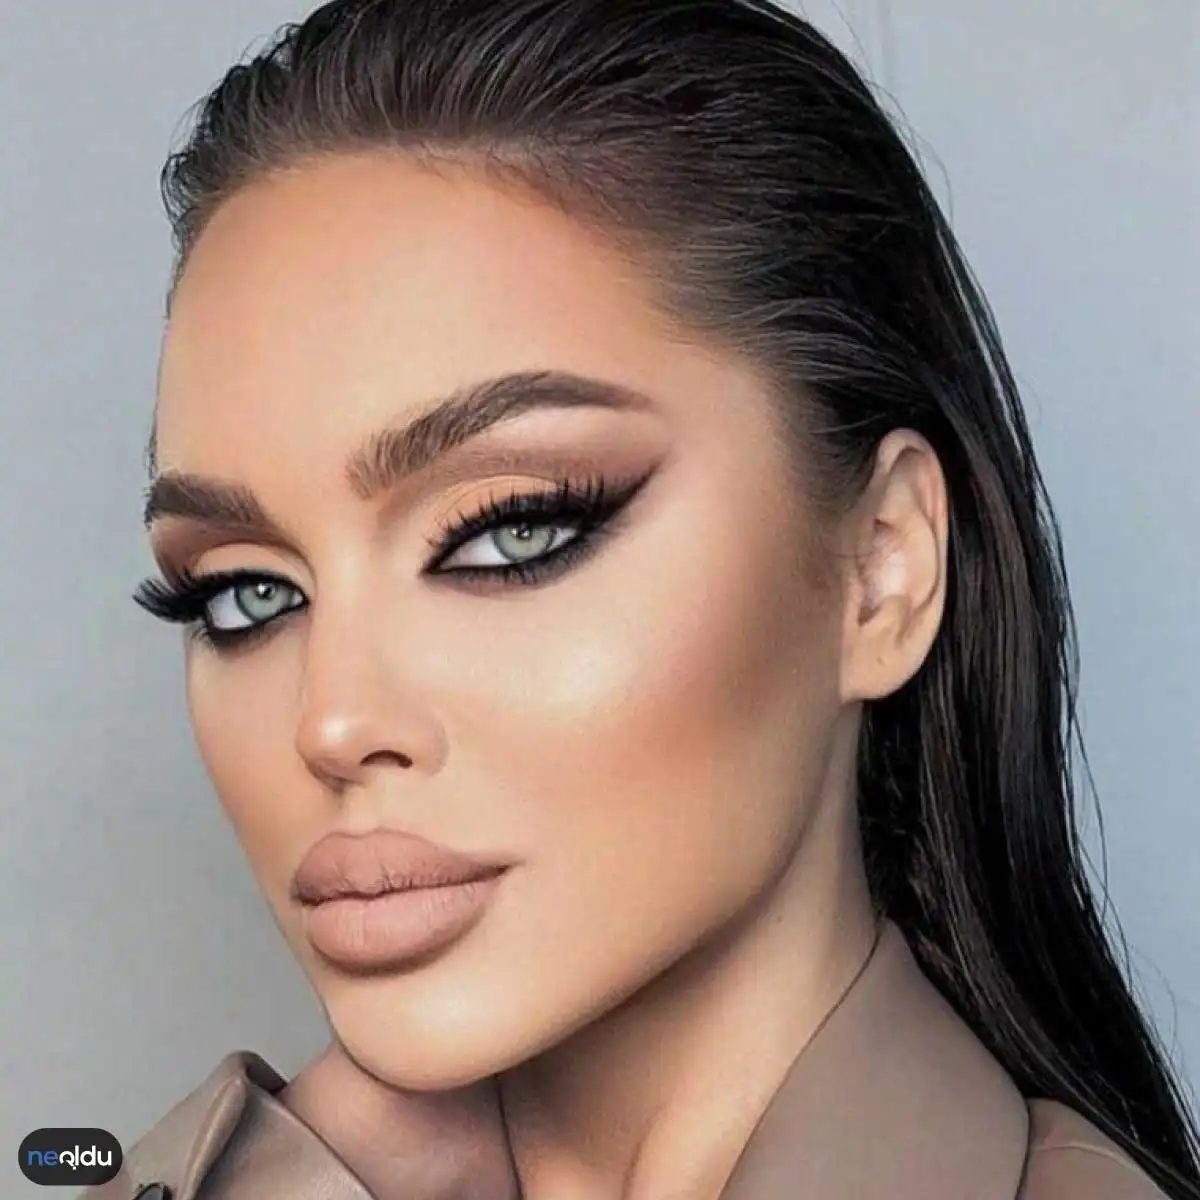
Kedi göz makyajı, gözlerinize anında bir genişletici etki yapar. Bakışlarınızı daha büyük, daha dikkat çekici hale getirir. Bunu yapmak için karmaşik bir teknik öğrenmeye gerek yok. Sadece birkaç basit adımı takip etmek yeterli.
Öncelikle gözlerinizi kapatın. Bir de güneş gözlüğü takın. Göz altınıza bir kapatıcı sürün. Bu adım, sonucun temiz çıkması için önemli. Sonra, göz kapağınıza renkli bir far uygulayın. Bu farı gözünüzün köşelerine doğru genişletin. Hedefiniz, o karakteristik çizgiyi oluşturmak.
Gözünüzün altına belirgin bir çizgi çekin. Bu çizgiyi gözünüzün dışına doğru uzatın. Far çizgisini göz kapağından göz kırpana kadar uzatın. Kirpik diplerine doğru kalınlaştırın. Ardından kirpiklerinize bol miktarda maskara uygulayın. İsterseniz bu işlemi diğer gözünüzde de tekrarlayın.
Bu adımları uygulayarak kolayca ve hızlı bir şekilde kedi göz makyajı yapabilirsiniz. Ancak, herkesin göz şekli farklı olduğundan, makyaj tekniğini kendinize göre uyarlayabilirsiniz. Uygulama sırasında farların ve diğer araçların kalitesine dikkat edin, böylece gözlerinizin güzelliği daha da artar.
Kedi Göz Makyajı İçin Farklı Renk Seçenekleri
Standart siyah veya kahverengi dışındaki renkleri denemek istiyorsanız? Farklı tonlar, bakışlarınıza tamamen farklı bir karakter katabilir. Mavi gözleriniz varsa, altın veya bakır tonları dikkat çekicidir. Kahverengi gözlerinizse, lacivert veya mor tonları gözlerinizi öne çıkarır. Yeşil gözler için mor ve bakır tonları harika bir uyum sağlar.
Renk seçerken göz renginizle kontrast oluşturmak genellikle daha iyi sonuç verir. Ancak bu bir kural değil. Kendi tarzınıza uygun renkler denemekten çekinmeyin.
Finding Your Signature Wing Color
A cat-eye isn’t just about the sharp line. It’s about the color that frames it. The right shade can make your eyes look larger, more awake, and undeniably magnetic. The best part? You aren’t stuck with just one option. Experimenting with different tones allows you to tailor the look to your mood, your outfit, and honestly, how you’re feeling that day.
Here is how you can break away from the standard and find a palette that actually works for you.
Classic Black: The Power Move
Black eyeshadow remains the undisputed heavyweight champion of cat-eye looks. It’s dramatic. It’s bold. It screams confidence. If you want that powerful, slightly dangerous vibe, this is your go-to. It creates a high contrast that makes the whites of your eyes pop.
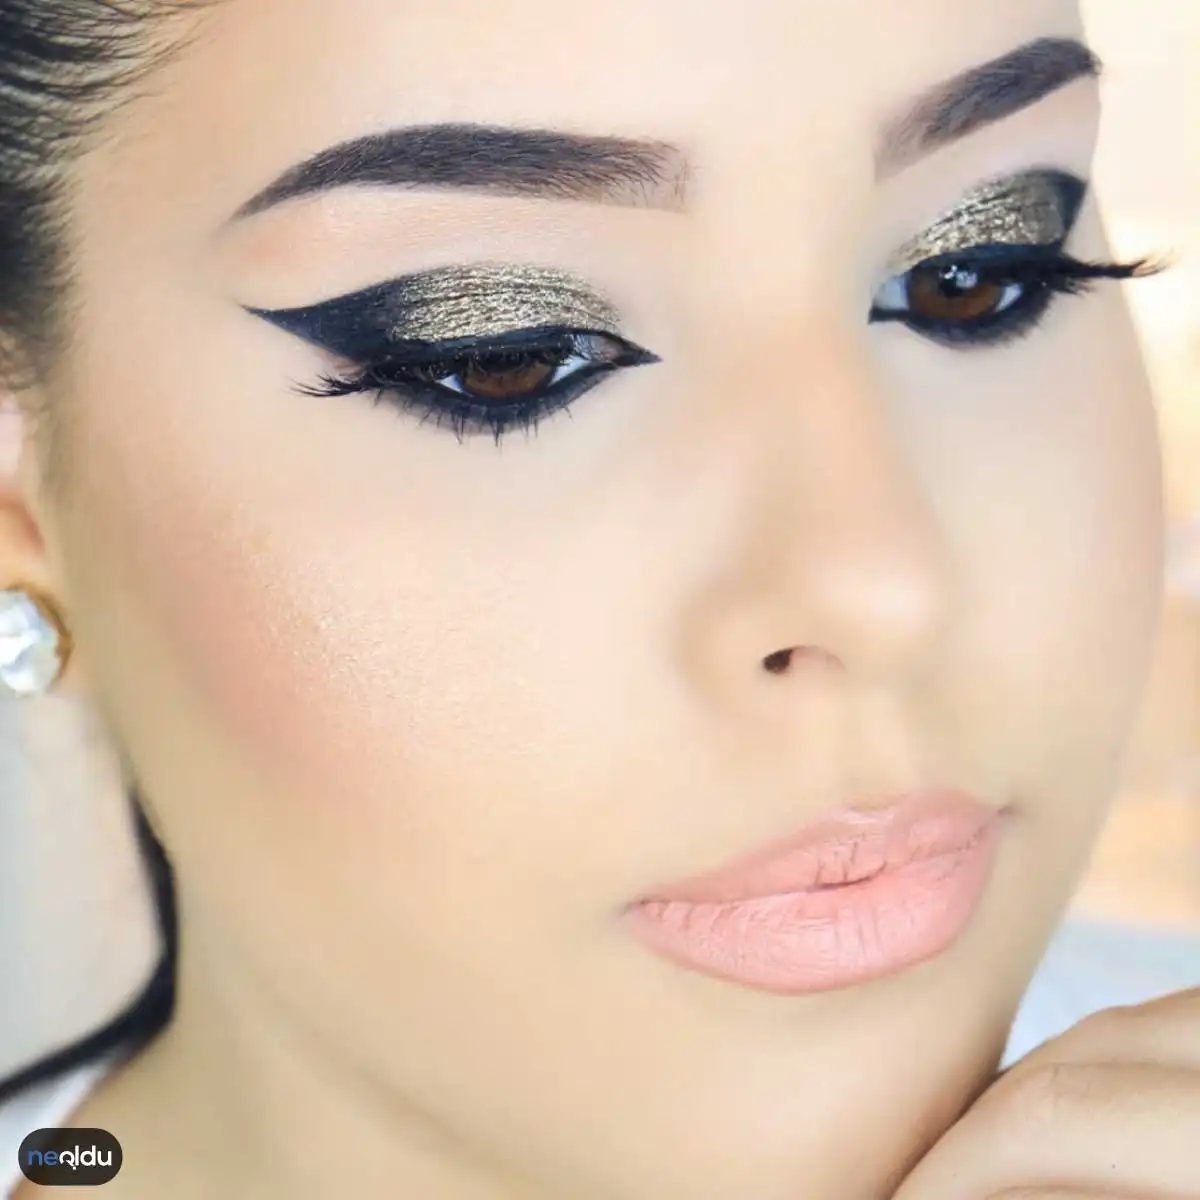
Bronze and Gold: Warmth and Light
Bronze and gold tones bring a different kind of energy. They add brightness. They make the eyes look lively and luminous. This is particularly effective for lighter skin tones, as it enhances the natural warmth in your complexion without looking harsh. Think of it as sun-kissed sophistication.
Purple and Blue: Depth and Mystery
Want to look otherworldly? Purple and blue tones create depth. They make your eyes look deeper, almost mystical. These colors tend to look stunning on darker skin tones, creating a rich, saturated effect that catches the light in a unique way. It’s less about blending in and more about standing out.
Brown and Red: Energetic and Versatile
Brown and red tones offer a vibrant pop of energy. They are lively. They are warm. And perhaps most importantly, they work for every skin tone. If you want a look that feels fresh and energetic without being too heavy, this combination is hard to beat.
Trial and Error is the Point
These suggestions are just a starting block. Don’t be afraid to mix things up. The goal isn’t to follow a rigid rulebook. It’s to find what makes you feel comfortable. You need to move freely. You need to look in the mirror and like what you see, not just what looks good on a magazine page.
Your makeup should serve you. It shouldn’t weigh you down. If a bold purple wing makes you feel like a queen, wear it. If subtle brown works better for your Tuesday morning meeting, that’s valid too. The right balance is personal.
Finding Your Best Shades
There is no single “best” shadow color. It depends on three things: your preference, your skin tone, and what you’re wearing. Black, bronze, silver, purple, blue, and brown are all safe bets, but your personal taste should drive the decision. Match your shadow to your lipstick. Match your eyes to your dress. It’s about cohesion, not just technique.
Mastering the Application
How do you actually draw the wing? Start with the basics. Apply your shadow first to build intensity. Then, use your eyeliner to define the shape. Finish with mascara to open up the eye. If you’re new to this, practice makes perfect. You might need a few tries to get that upward flick just right. It’s not about speed; it’s about precision.
The Essential Toolkit
You don’t need a professional studio to achieve this look. You just need the right tools.
– Eyeshadow (your chosen color)
– Eyeliner (liquid or pencil, depending on your skill level)
– Eyeshadow brush (for blending)
– Mascara (to lengthen and volume)
– Eyeliner pencil (for tightlining or precision)
Keep it simple. Quality