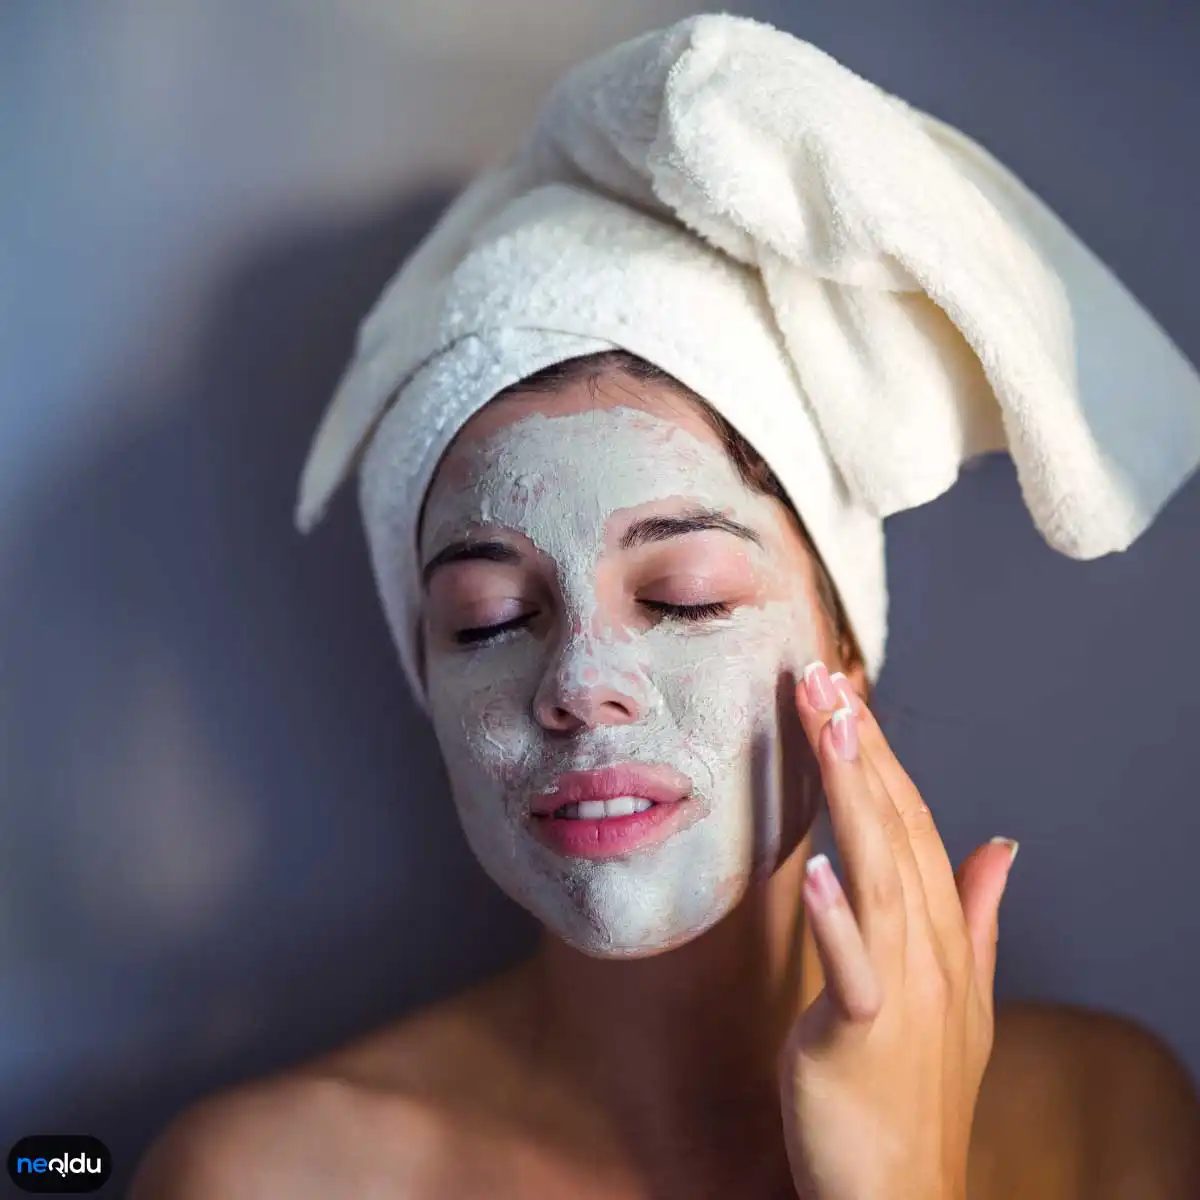
Skincare is the foundation of health. It is not just about looking good. It is about keeping your skin barrier intact. Everyone wants that glow. But you do not need to spend a fortune to get it. The secret often lies in your kitchen.
Natural ingredients work wonders. They hydrate. They nourish. They wake up tired cells. You can make effective treatments at home. This does not mean you need expensive serums or professional tools. It means you need the right info. Picking the wrong ingredient for your skin type is worse than doing nothing.
1. Know Your Skin Type
Before you start mixing bowls of yogurt or honey. You need to pause. Think about your face. Is it oily? Dry? Somewhere in between? Reactive?
This step is non-negotiable. If you have sensitive skin. Avoid harsh scrubs or strong acids. If your skin is oily. Heavy oils might clog your pores. You must match the mask to the condition.
“Choosing the right ingredients for your specific skin type is the difference between a glow and a breakout.”
Most people skip this. They see a viral recipe and try it blindly. That is a mistake. Your skin is unique. It reacts to pH levels. It reacts to texture. It reacts to temperature.
Start with honesty. Look at your face in the mirror without makeup. Does it shine by noon? You likely have combination or oily skin. Does it feel tight after washing? You probably have dry skin. Does it turn red easily? Sensitivity is your watchword.
Once you know your baseline. You can build a routine that works. Not one that fights you. The rest of the guide will help you pick ingredients that fit. Not ingredients that fit the internet.
How to Choose DIY Face Mask Ingredients for Your Skin Type
Knowing your skin type is the difference between a glow and a breakout. It’s the only way to pick ingredients that actually work for you. And preparing the mask correctly matters just as much. So, start by identifying what you’re working with.
Dry skin tends to look dull, flake easily, and itch. If this sounds like your face, you need moisture. Avocado, honey, coconut oil, almond oil, milk, and yogurt are your best friends. They lock in hydration.
Oily skin often shines, feels slick, and leans toward acne. For this type, you want balance. Clay helps draw out impurities. Lemon juice, apple cider vinegar, cucumber, and tea tree oil manage excess oil.
Combination skin is a mix. You might have an oily T-zone but dry cheeks. This requires a dual approach. Honey and avocado provide moisture where needed. Lemon juice and clay tackle the shine. Green tea, milk, and yogurt round out the routine. They offer both hydration and oil control.
Sensitive skin irritates easily and reacts to allergens. You need soothing agents. Oatmeal calms inflammation. Aloe vera gel hydrates without clogging. Honey, coconut oil, chamomile, and lavender add gentle care.
Once you know your type, you can choose the right ingredients. But here is the catch. Your skin changes. Seasons shift. Hormones fluctuate. Your mask routine shouldn’t stay static. Update your mix regularly to match your current needs.
How to Select Ingredients for Your Specific Skin Concerns
It’s not just about dry or oily. It’s about what your skin is screaming for right now.
For dryness:
– Avocado: Rich in healthy fats.
– Honey: A natural humectant.
– Coconut oil: Deeply moisturizing.
– Almond oil: Lightweight nourishment.
– Milk and yogurt: Lactic acid gently exfoliates while hydrating.
For oiliness:
– Clay: Absorbs excess sebum.
– Lemon juice: Natural astringent.
– Apple cider vinegar: Balances pH levels.
– Cucumber: Cooling and refreshing.
– Tea tree oil: Antimicrobial and oil-regulating.
For combination skin:
– Honey: Balances moisture levels.
– Avocado: Targets dry patches.
– Lemon juice: Controls shine in oily zones.
– Clay: Clears pores in the T-zone.
– Green tea: Antioxidant protection.
– Milk and yogurt: Gentle exfoliation and hydration.
For sensitive skin:
– Oatmeal: Soothes irritation.
– Aloe vera: Heals and hydrates.
– Honey: Antibacterial and soothing.
– Coconut oil: Protects the skin barrier.
– Chamomile: Reduces redness.
– Lavender: Calms and relaxes the skin.
Don’t just grab whatever is in your fridge. Look at your skin. Is it tight? Flaky? Shiny? Red? Let those signs guide your choices.
And remember, patch test first. Especially with essential oils or acids. A little sting is normal. A lot of pain isn’t.
Your face isn’t static. Neither should your routine be. Check in with it often. Adjust
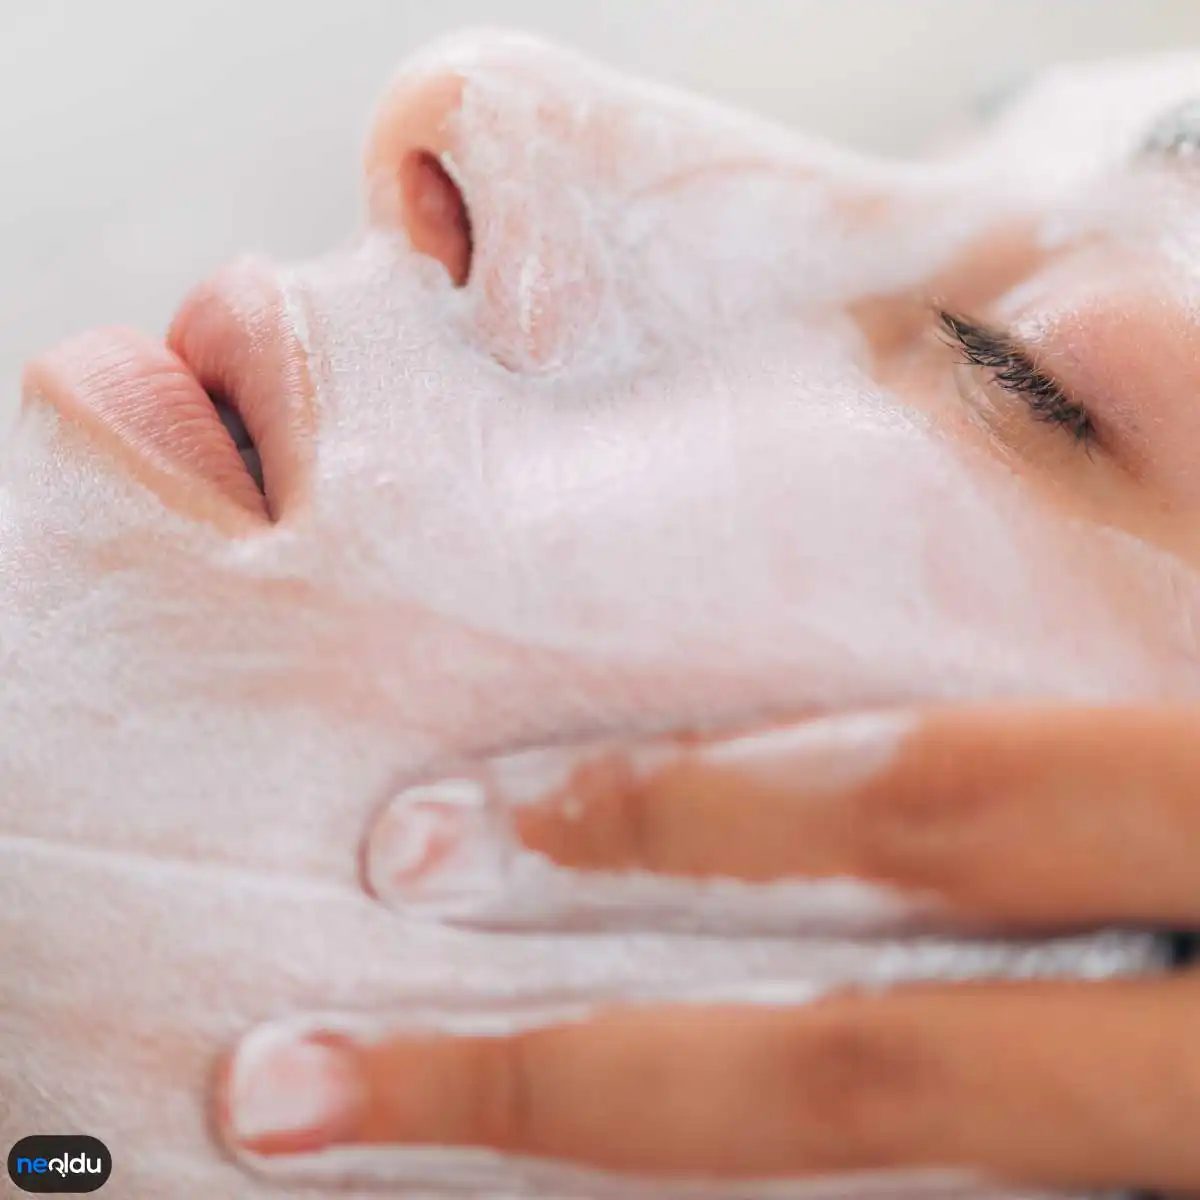
3. Temiz Bir Çalışma Alanı Hazırlayın
Her şeyin merkezinde huzur olmalı. Doğal cilt maskesi yapımı sadece bir bakım rutininden ibaret değil. Aynı zamanda bir ritüel. Önce temizlik. Bunu atlayamazsın.
Makyaj masası veya banyo tezgahı… Neresi olursa olsun, o alanı sıfırla. Kirli yüzükler, eski saç tokaları, dökülmüş pudra kalıntıları… Hepsi temizlenmeli. Neden? Çünkü hijyen, sonuç kadar önemli. Kirli bir yüzeye hazırlanan maske, cildini korumak yerine enfeksiyon riski taşıyabilir. Gözeneklerin açığıysa, bu risk daha da artar.
Doğal cilt bakımı yaparken en büyük düşman kir değildir. Karmaşıktır. Ama temiz bir alan, karmaşayı basitleştirir.
- Yüzeyleri sil: Alkol veya doğal bir dezenfektan kullan.
- Araçları hazırla: Cam kase, kaşık, fırça… Hepsi temiz olsun.
- Elleri yıka: Sabunla en az 20 saniye. Parmak uçlarına dikkat et.
Bu adımlar “zorunlu” gibi görünür. Aslında lüks bir lükstür. Kendine bir an ayırdığında, o anı boşa çıkarma. Cildin de senin o dakikaya verdiği değeri hisseder.
“Temiz bir başlangıç, yarı yarıya başarı demektir.”
Bazı kadınlar bu detayları küçük bulur. Yanılırlar. Küçük ayrıntılar, büyük fark yaratır. Özellikle hassas bir cildin varsa, bu hijyen standartlarını esnetme. Cildin tepki verir. Hemen.
Maskeyi hazırlarken, odanda da bir ferahlık olmalı. Pencereyi aç. Havalandır. Kötü kokular, maskenin doğal kokusunu bastırır. Lavanta, limon, bal… Bu kokular terapötiktir. Ama önce ortam. Ortamın temizliği, zihnini de hazırlar. Ve hazırlanmış zihin, daha dikkatli karışımlar yapar.
Unutma: Cilt maskesi malzemeleri sadece birer gıda veya bitki değil. Onlar birer yatırım. Yatırımını doğru yapılmış bir altyapıyla korumalısın. Kirli bir kase, pahalı avokadoyu bozar. Temiz bir kase, ucuz yoğurdu bile işe yarar kılar.

Yaptığınız her şeyin garantisi yok. Evde hazırlanan maskeler, laboratuvar standartlarında değil. Ama doğru yapılırsa, cildinize o dışarıda aldığınız pahalı kremlerden daha iyi hissettirebilir. Önce zemin hazırlamak lazım.
Temiz bir alan seçin. Maske malzemelerinizi hazırlamadan önce tüm araçları ve malzemeleri temizleyin. Temiz olmayan araçlar, maskenizin kalitesini düşürebilir veya cildinize zarar verebilir. Araçlarınızı her kullanımdan önce temizleyin ve kuru bir yerde saklayın.
4. Malzemeleri Doğru Şekilde Karıştırın
Karıştırma işlemi sadece bir kural değil. Doğru şekilde karıştırmak, maskenizin etkinliğini artırabilir. Yanlış karışım ise cildinizi tahriş edebilir.
- Dengeli oranlar: Tarifi aynen uygulayın. Malzemelerin oranları, cildinizin ihtiyacına göre ayarlanmıştır.
- Yavaşça karıştırın: Hızlı karıştırmak, maskenin yapısını bozabilir. Yavaş ve dikkatli olun.
- Pürüzsüz tutun: Topaklanmayan, homojen bir yapı hedefleyin. Topaklar, maskenin cilde eşit dağılmasını engeller.
- Taze kullanın: Hazırladığınız maskeyi hemen kullanın. Bekletmek, içeriklerin etkisini azaltabilir.
Doğru şekilde karıştırılmış bir maske, cildinize daha iyi emilir ve daha etkili sonuçlar verebilir.
Cildinizi bu şekilde beslemek, gün boyu süren stresin izlerini silmek için iyi bir başlangıç. Ama unutmayın, bu sadece bir başlangıç. Geriye kalan, sabır ve düzenli bakım.
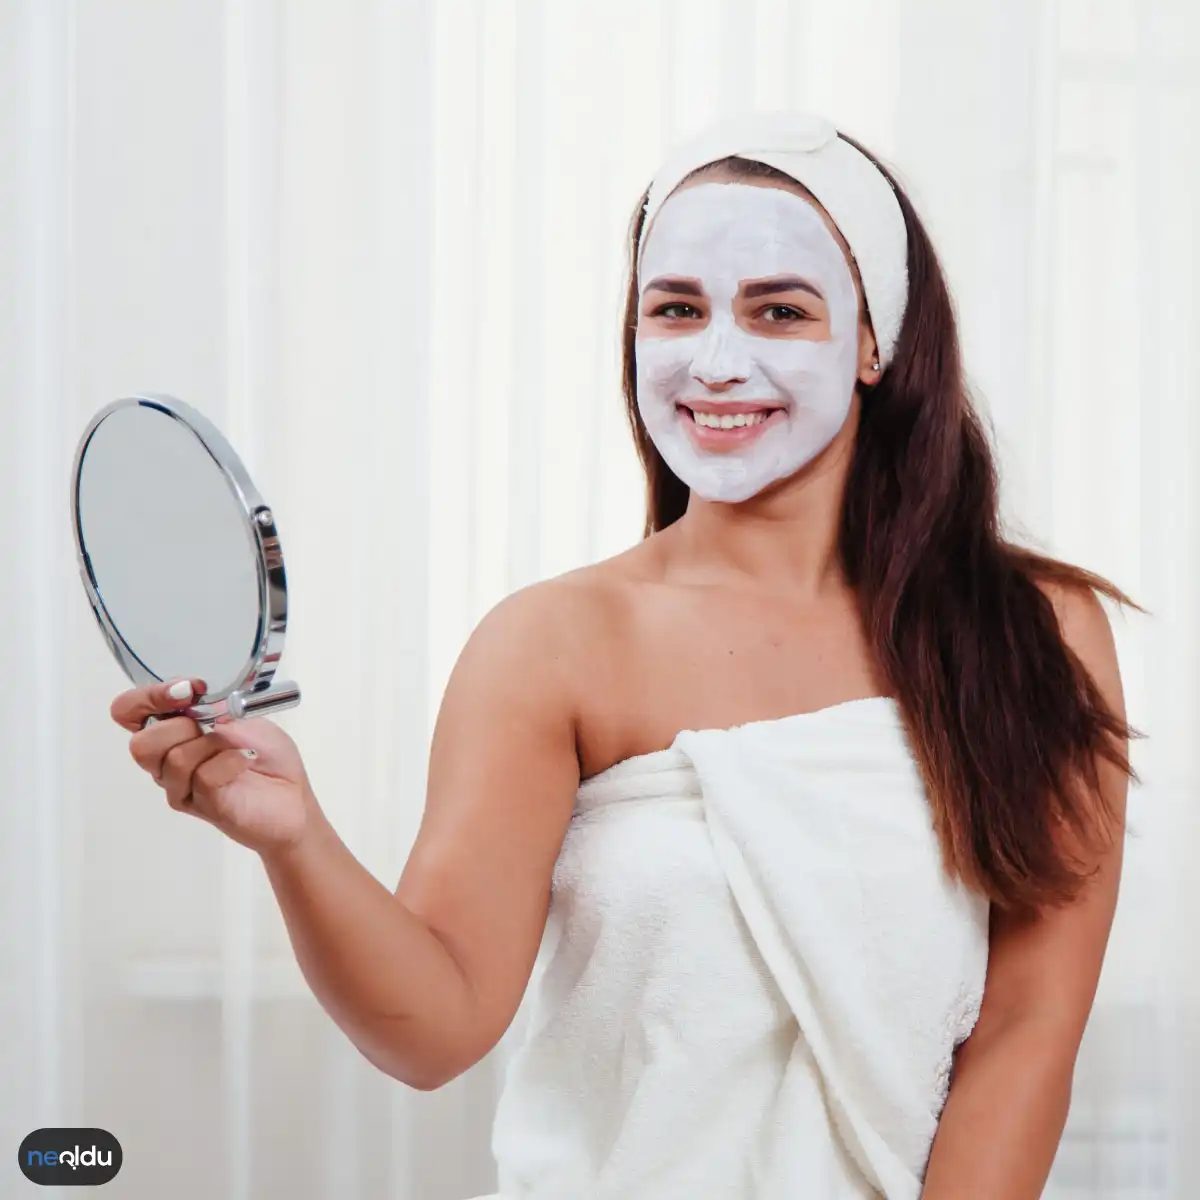
Doğru kıvamı yakalamak sadece bir hissiyat meselesi değil. Malzemeleri doğru oranlarda karıştırırsanız sonuç da ona göre olur. Amaç, cildinize uygunluğu seçmek. Bazı içerikler cildinizde tahrişe neden olabilir. Bu yüzden her zaman malzemelerin etkileri hakkında bilgi edinin. Farklı bileşenlerin farklı etkileri vardır. Cilt tipinize ve ihtiyaçlarınıza göre doğru karışımı hazırlamaya özen gösterin.
İdeal karışımı bulmak için birkaç deneme yapmanız gerekebilir. Bu süreçte sabırlı olun.
5. Maske Malzemelerinin Kalitesine Dikkat Edin
Taze malzeme kullanmak, işlenmiş türevlerine göre çok daha etkilidir. Avokadoyu o gün doğranmış olanı kullanın. Bal yerine çiçek balı tercih edin. Tozlar ise kapakları sıkı tutulan, nem almamış olanları seçin.
Kalitesiz malzeme, cildinize fayda yerine zarar verebilir.
- Tazelik : Cevherler ve tozlar eskiyse etkileri azalır.
- Saflik : Katkısız içerikler cildi daha az tahriş eder.
- Kaynak : Bilinen ve güvenilir tedarikçilerden alışveriş yapın.
Bu küçük detaylar, maskanızın performansını doğrudan etkiler.
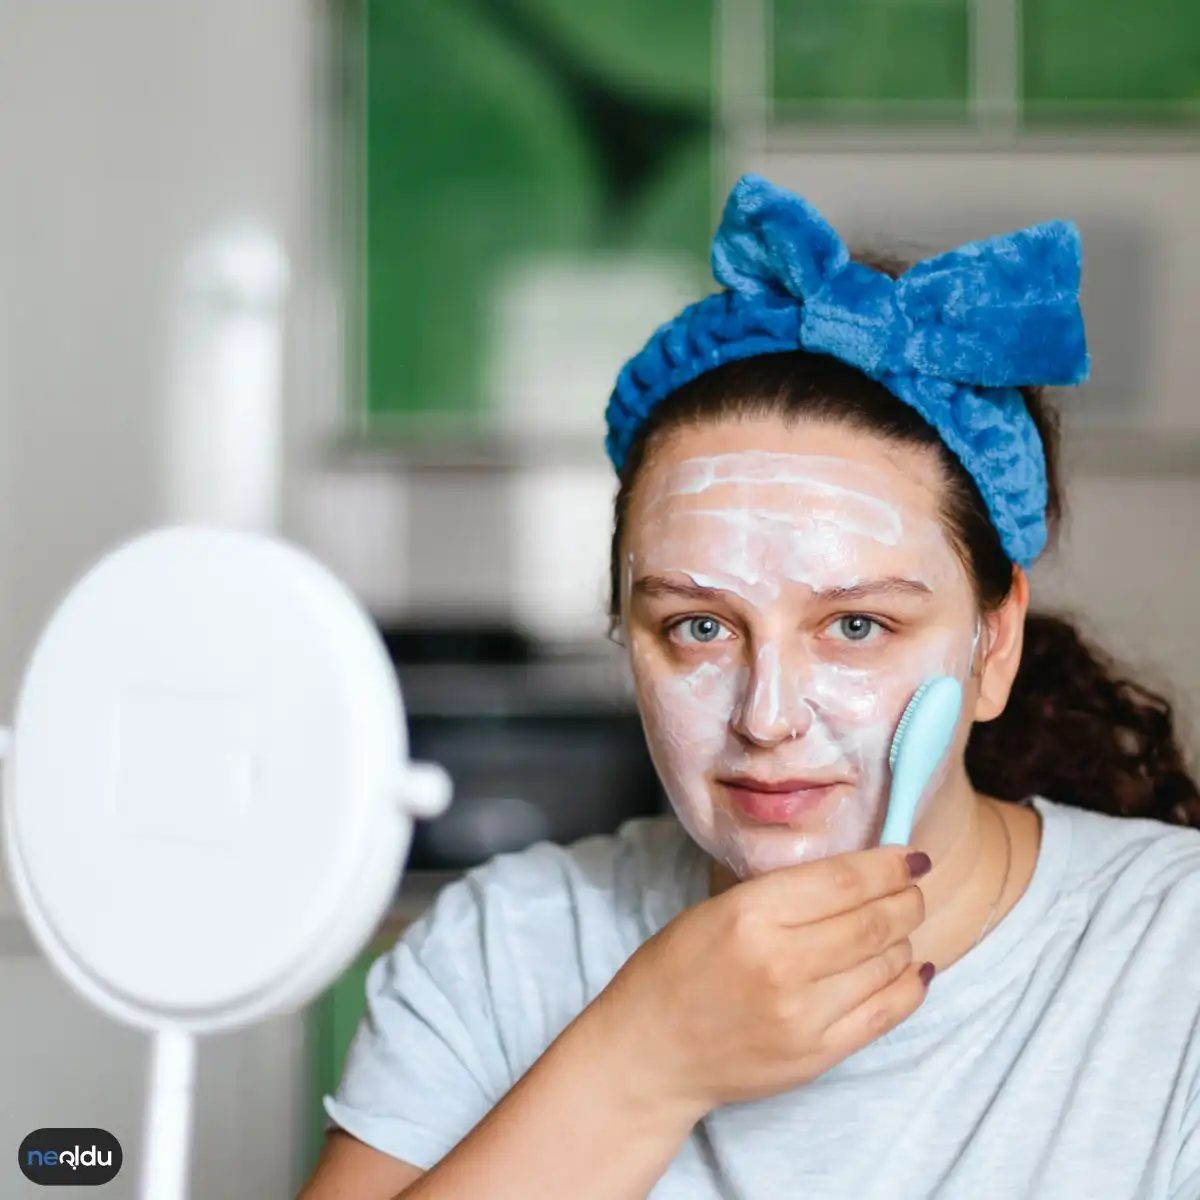
6. Alerji Testi Yapın
Diyetle ilgili her şeye dikkat etmek, cilt bakımında da aynı titizliği gerektirir. İçeriğe göz atarken, doğal ve organik malzeme tercih etmek en mantıklı adımdır. Amaçlanan şey tam da budur. Sığ, işlenmiş veya kalitesiz içerikler, cildiniz için sadece işe yaramaz; ters tepki verebilir. Bu, bilinen bir kuraldır. İyi malzeme seçimi, uygulanış biçiminden daha etkilidir.
Bu noktada durup düşünün. Her şey doğal olduğunda güvenli olduğunu düşünürsünüz, öyle değil mi? Yanlış.
Bazı bitkiler veya esansiyel yağlar, cildiniz için güçlü alerjenler olabilir. Bu nedenle, yeni bir maske veya serumu yüzünüze sürmeden önce alerji testi yapmak hayati önem taşır. Bu basit önlem, büyük bir sorun önler.
Nasıl yapılır? Kolay.
1. Kolunuzun iç kısmını veya kulak arkasını seçin.
2. Uygulayacağınız ürünün küçük bir miktarını sürün.
3. En az 24 saat bekleyin.
Eğer kızarıklık, kaşıntı veya yanma hissi oluşursa, o ürünü kesinlikle yüzünüzde kullanmayın. Cildiniz size “hayır” diyor. Bunu dinleyin.
Bu test, cilt dostu doğal malzeme seçiminde size rehberlik eder. Kimyasal içerikli ürünlerde de benzer bir risk vardır. Bu nedenle etiketleri okumayı bırakmayın.
Sonuçta, cildiniz size özel bir varlıktır. Ona atfedilen değeri, taktığınız maskenin kalitesi kadar yüksek olmalı.
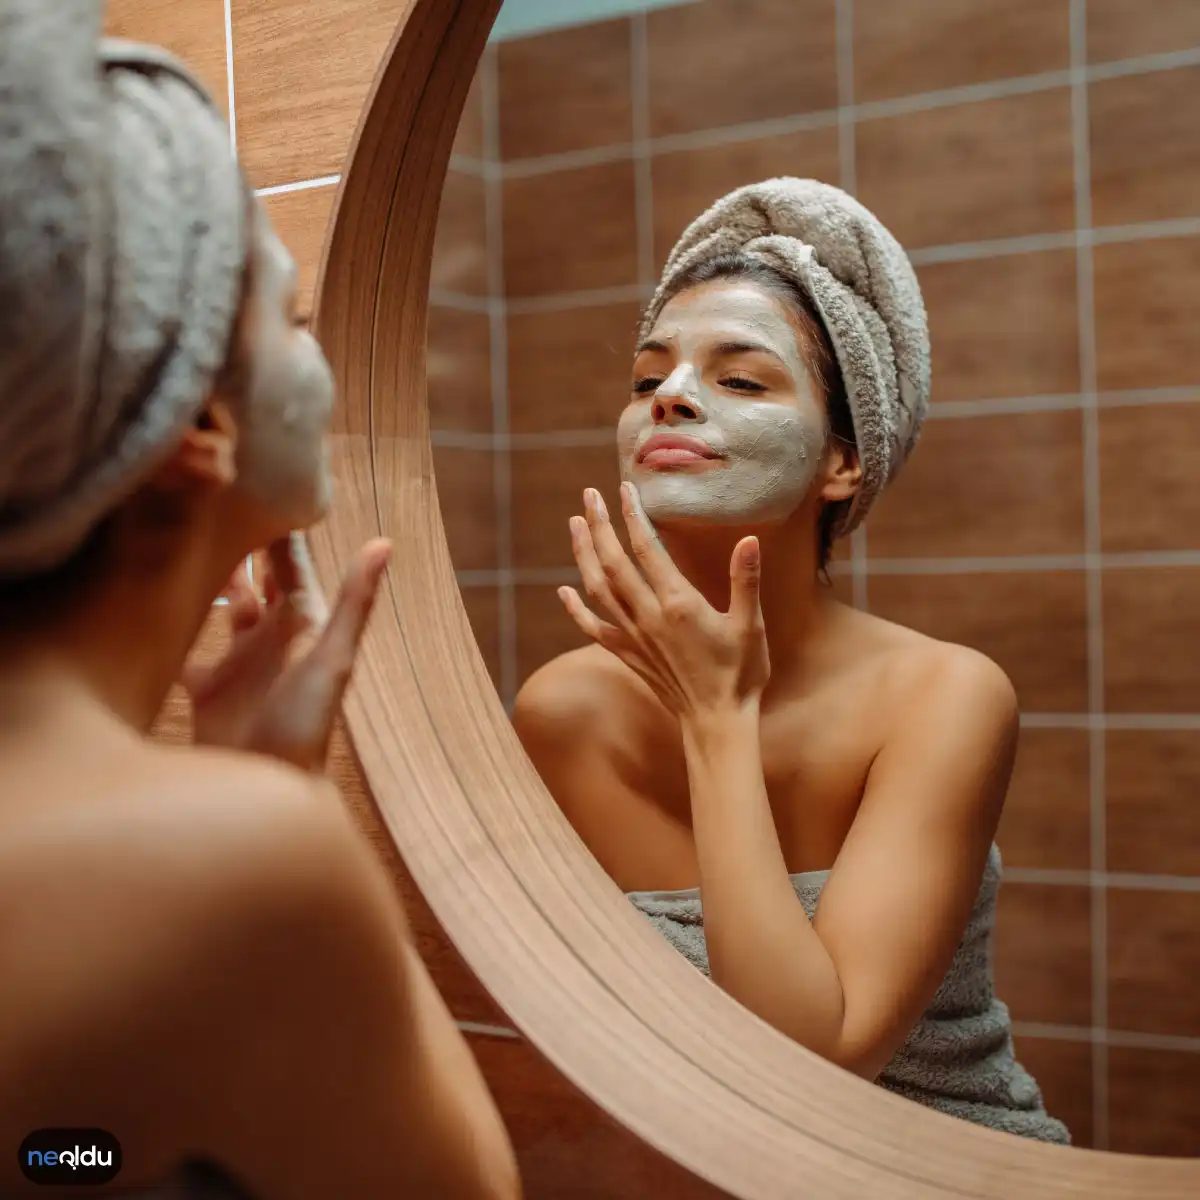
It is easy to forget that the ingredients inside a jar or a sachet are not inert. They are active chemical agents. For those with sensitive skin, a mask can trigger a reaction that feels like a burn rather than a treatment. The risk is real.
Before you slather anything across your cheeks, you need to patch test. This is not optional for sensitive skin types.
How to Patch Test Correctly
Do not skip this step. Many people apply a tiny amount behind the ear and call it a day. That is insufficient. The skin behind the ear is thick. The inner forearm or the wrist is more representative of facial sensitivity.
Apply a small amount of the mask to the inside of your arm or your wrist. Cover it loosely if you wish, but let it sit. Wait twenty-four hours.
Watch closely. Look for:
– Itching
– Redness
– Heat or stinging
If you feel any of these, the product is not for you. Do not put it on your face. The consequences of ignoring a patch test can lead to contact dermatitis, which takes weeks to heal. Better to waste a few dollars on a single-use mask than to spend months soothing a rash.
7. Store Masks in the Right Conditions
Once you have ruled out allergies, storage becomes the next silent killer of skincare efficacy. Heat ruins emulsions. Light degrades antioxidants. Moisture breeds bacteria.
Most DIY masks—especially those with fresh ingredients like honey, yogurt, or crushed berries—must be refrigerated. They spoil fast. A banana mask left at room temperature for two days is no longer a treatment. It is a petri dish.
Commercial sheet masks are more stable due to preservatives, but they still degrade. Keep them away from direct sunlight. Do not store them in the bathroom if your shower creates steam and heat fluctuations. The steam can compromise the seal of the packaging or alter the formula inside the pouch.
For clay masks, moisture is the enemy. If your jar sits in a humid bathroom, the powder can absorb ambient water. It might look fine on top, but the bottom could be clumping or introducing unwanted microbes. Keep clay masks in a cool, dry cupboard.
Why Temperature Matters
Your skin responds to temperature. A chilled mask can de-puff. It constricts blood vessels. This is why many brands recommend keeping sheet masks in the fridge during hot weather. The shock is refreshing. It reduces inflammation instantly.
However, cold is not always better. If your skin is extremely dry or compromised, a freezing cold mask can cause vasoconstriction that is too aggressive. It can lead to broken capillaries in very fragile skin.
Find your balance. Room temperature is safe for most. The fridge is a bonus for puffiness. Freezing is a risk.
The Shelf Life Reality
Check the expiration date. Not just on the box, but on the jar. Once you open a container of oxygenated mask or a probiotic treatment, the clock starts ticking faster. The preservative system is broken.
- Sheet masks: Usually good until the date on the package if unopened.
- Clay powders: Indefinite if kept dry.
- Cream-based masks: 6-12 months after opening.
- **DIY fresh
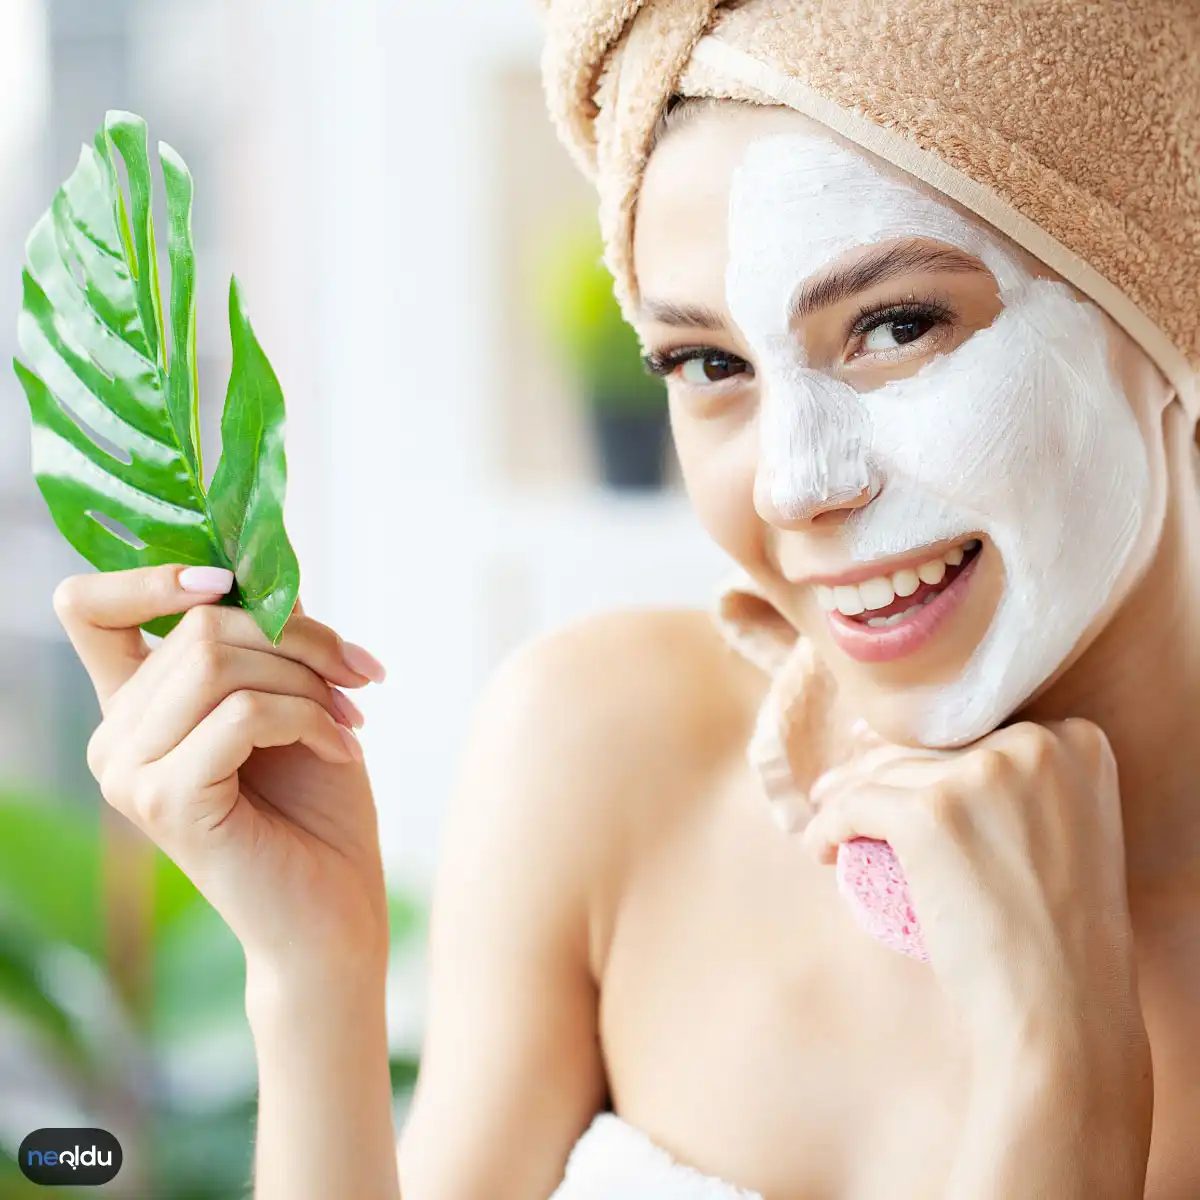
Don’t Rush Into the Bathroom
You’ve mixed that clay and honey concoction. It smells like a spa day. But do you really have to slap it on your face right this second?
No.
If you’ve got leftover mask in the bowl, don’t pour it down the drain. Toss it in the fridge. The cold slows down oxidation. It keeps those fresh ingredients from going rancid before you’re ready to use them.
But here is the catch.
Some masks are volatile. If yours relies on chopped strawberries or lemon juice, throw it out after one use. Bacteria love wet, raw food. And so does your face, if you’re careless. Stick to shelf-stable mixes if you want to prep ahead.
What Does a Face Mask Actually Do?
People treat masks like magic potions. They aren’t. They’re concentrated doses of care.
When you layer on a mask, you’re forcing hydration. You’re delivering vitamins. You’re giving your skin a break from the day’s pollution and stress. It’s a reset button.
If you pick the right ingredients, you’re feeding your skin what it’s actually starving for. Vitamin C for brightness. Hyaluronic acid for plumpness. Zinc for calm. It’s not magic. It’s biology.
Which Ingredients Should You Be Using?
Stop buying fancy jars with unpronounceable ingredients lists. Look at your pantry.
Honey is an ancient healer. It’s antibacterial and hydrating. Avocado? That’s healthy fat. It soothes dry patches. Oatmeal calms irritation. Coconut oil and argan oil lock in moisture.
Green tea brings antioxidants. Clay pulls impurities out of pores. Fish oil (or algae oil) gives you omega fatty acids.
The key isn’t finding the “perfect” ingredient. It’s finding the one that matches your skin’s current mood.
How Often Is Too Often?
Daily? Sure. If you like wet faces.
But most people don’t need to mask every morning while brushing their teeth. Once or twice a week is usually the sweet spot. It’s enough to see results without over-stripping your barrier.
Listen to your skin. If it feels tight or looks red, take a break. If it’s looking dull and tired, ramp it up slightly. There is no strict rulebook here. Just pay attention.
Who Needs Masks?
Everyone.
Yes, really. Even if you have oily skin. Even if you think you don’t need extra help.
The texture and ingredient profile change, though.
Dry skin? Go for creamy, oil-based masks. Think shea butter or avocado. You need moisture.
Oily or acne-prone skin? Clay is your best friend. Kaolin or bentonite clay draws out excess sebum. It tightens pores. It cleans deep.
Sensitive skin? Stick to simple. Cucumber. Aloe. Chamomile. Avoid anything with strong essential oils or acids until you know how your skin reacts.
The Application Process (It’s Simpler Than You Think)
Step one: Cleanse.
You can’t seal dirt into your pores. Wash your face. Pat it dry, but leave it slightly damp. Damp skin absorbs better.
Step two: Apply.
Use your fingers. They’re warm. They help the product sink in. Use a brush if you’re messy. Use your fingers if you want that personal touch.
Sweep it on. Don’t rub. Just lay it down.
Step three: Wait.
Set a timer. Don’t guess.