
You’ve always dreamed of mastering the art of hair styling without sending your kid’s locks into the void. You want techniques that stick. Real ones. Not the complicated stuff you see in high-fashion editorials.
Even if a professional’s touch is irreplaceable for those tricky layers, you don’t need a salon chair to get a decent trim at home. There are seven straightforward tricks to help you cut hair yourself. They take two snips and a bit of practice.
Let’s be honest. Salon visits are expensive. They’re also time-consuming. Finding a babysitter for a twenty-minute trim is a logistical nightmare most parents skip. So you pick up the scissors. Maybe a pair of kitchen shears if you’re feeling reckless.
Here is how you actually do it. Without ruining the haircut.
The Prep Work Matters More Than You Think
Wet hair shrinks. Dry hair behaves unpredictably. The biggest mistake beginners make is cutting dry hair without knowing how it falls. Or cutting wet hair and forgetting it will shrink up as it dries.
Start with clean hair. Tangle-free. Detangle thoroughly before you even pick up a comb. A comb with wide teeth works best for beginners. It gives you control.
Divide the hair into sections. Clip the top part up. Leave the bottom layer down. This is non-negotiable. Trying to cut everything at once leads to jagged edges and uneven lengths.
“Precision comes from patience, not speed. Take your time with the first section.”
The Scissor Technique
Hold the scissors parallel to the floor. Cut straight across. Don’t angle them unless you’re specifically trying to create layers. For a blunt cut, keep the blades horizontal.
Use the comb to pull the hair down gently. Don’t pull it tight. You want a natural fall. Cut just below the comb. Leave a millimeter of buffer. You can always cut more. You can’t glue it back on.
Seven Tricks for Self-Confidence
-
Use the comb as a guide.
Pull the hair down. Cut along the edge of the comb. This ensures a straight line. It’s the easiest way to avoid the “choppy” look. -
Cut small amounts.
Take small subsections. One centimeter at a time. It’s better to go slowly. Fast cuts lead to mistakes. Mistakes mean another trip to the salon. -
Check symmetry constantly.
Don’t cut one side and then the other. Cut a little bit from both. Compare the length. Adjust. This prevents the “one ear is higher” disaster. -
Work in good light.
Natural light is best. Bathroom lighting can be harsh and misleading. Stand in front of a window if you can. See what you’re actually doing. -
Use thinning shears for texture.
If the hair looks too blunt or heavy, use thinning shears. Snip into the ends. Don’t cut all the way through. This softens the look. It adds movement. -
Dry to verify.
After the initial cut, let the hair dry. See how it falls. Trim any stray hairs. Wet hair lies flat. Dry hair
Gather the Right Tools
You can’t cut your hair safely with kitchen shears. They crush the hair shafts, leading to split ends instead of a clean cut. You need professional-grade scissors. Look for new blades, specifically ones designed for hair, because the serrated edges prevent crushing.
Beyond the scissors, you need a comb with a tail (for precision parting), a detangling brush, a hair tie, and some clips. Don’t skip the basics. These tools make or break the result.
Choose Your Style Wisely
Don’t just chop. Think. Your first home haircut should be conservative. If you are nervous, stick to a simple trim or point cutting. Do not attempt to go from long to bob in one session. It is too risky.
Take your time. Cut small amounts. Check frequently. Hair grows back. Mistakes take months to hide.
Prep Dry Hair Only
Wet hair lies flat. It stretches. When it dries, it shrinks back up. If you cut it wet, you will end up with a bob that is an inch shorter than you intended. That is a disaster.
Always detangle thoroughly while dry. Straighten the lengths. This ensures you see exactly what you are cutting. The result is visible immediately. No surprises.
Trim the Ends (Without Cutting Length)
Got split ends? Don’t touch the overall length. Use the “twist and pinch” method.
- Take a thin section of hair.
- Twist it tightly from root to tip.
- Run your fingers up the twist, pinching as you go.
- Snip the fuzzy ends that poke out.
- Move to the next section.
It takes patience. It works.
For a full trim:
- Part your hair from crown to neck.
- Bring the lengths forward on both sides of your neck.
- Hold two small sections between your fingers.
- Comb through.
- Cut straight across in one confident motion.
If the result looks uneven, breathe. Faces aren’t symmetrical. Hair settles naturally. It will balance out.
Master the Straight Cut
Want a blunt, straight-across look? It’s easier than you think.
- Detangle completely.
- Gather all hair at the back of your head.
- Secure it in a low ponytail.
- Pull the elastic down to your desired length.
- Cut the hair sticking out below the elastic.
Remove the tie. Brush through. Done.
Try the Elastic Fade (Lived-In Layers)
Long hair? Want layers without the barber? Try the elastic technique. It creates soft, face-framing movement.
- Ensure hair is straight and dry.
- Bend forward at the waist.
- Pull all hair up toward the crown.
- Secure it in a high ponytail at the hairline.
- Decide how short the layers should be (nose, mouth, or chin).
- Cut the ponytail at that mark.
- Stand up. Brush hair back.
Add curl with a wand for texture. This technique builds volume where you need it most.
The Reality Check
Home cuts are temporary fixes. They are practical. They save money. They give you control. But they are not a substitute for a professional stylist every time.
Know your limits. If you are unsure, stop. Trim less. It is better to go back to the salon later than to live with a choppy, uneven mess. Hair grows. You have time to fix it. Just be gentle. Be precise. And maybe keep a pair of emergency scissors in your drawer. Just in case.
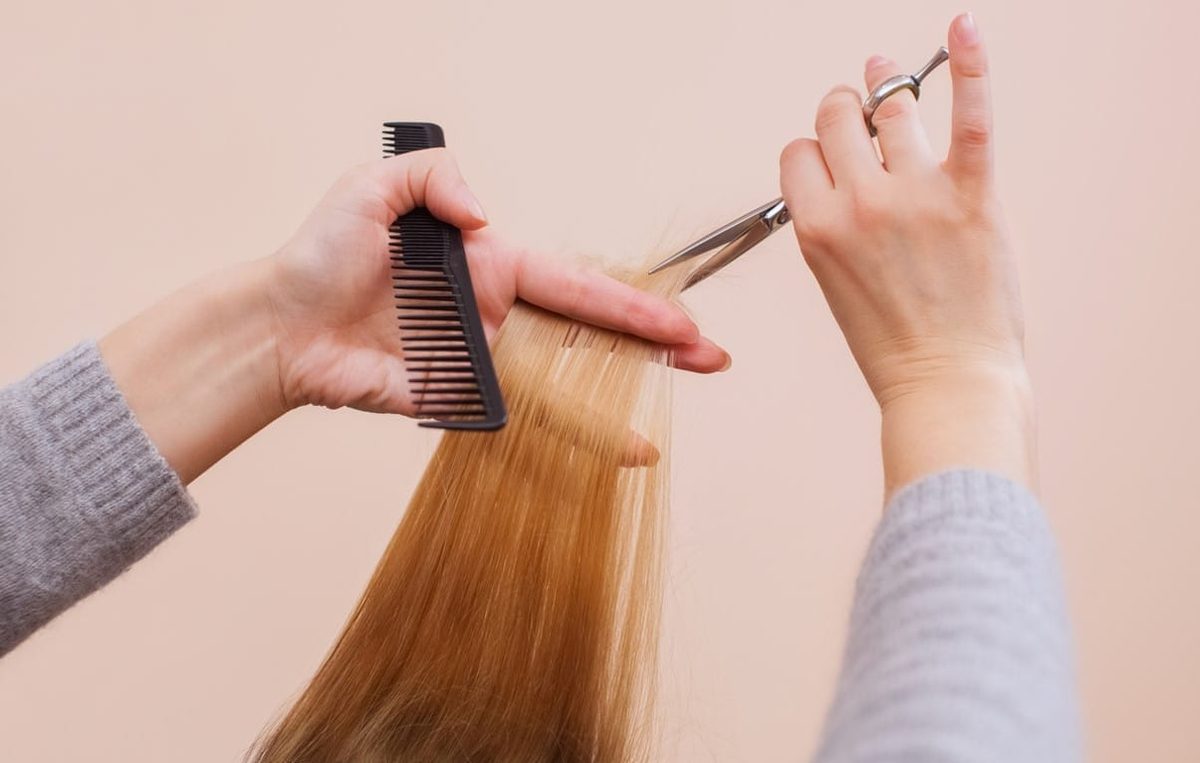
You’ve made the leap. You want bangs. Great choice. But here is the one rule you can’t break if you actually want to keep your hair on your head: never cut bangs on wet hair. I know it feels like wet hair is easier to manage. It isn’t for cutting. When bangs dry, they shrink. They curl up. They retreat into your forehead. If you cut them straight while they are soaked, you are going to end up with a mullet by noon.
Dry hair tells the truth. Wet hair lies.
Here is how you keep that fringe from becoming a tragedy.
The Basic Trim
Start with dry hair. Comb it out until there are zero tangles. Tangles create uneven cuts, and uneven cuts create regret.
Grab a section of the fringe. Pull it down firmly. Don’t just rest your fingers there; pull. You need tension.
Now, hold your scissors vertically. Point them toward the ceiling. This is non-negotiable. Cutting horizontally across wet or dry strands creates a blunt line that looks harsh unless you are a professional with years of training. Pointing up softens the edge.
Cut a little less than you think you need. You can always take more off. You cannot put it back. Stop before you hit the desired length. Leave a buffer.
The Asymmetrical Look
Want something edgier? A slanted fringe? It takes seconds and looks expensive.
- Dry it completely. Again. Seriously.
- Part the bangs away from the rest of your hair. Comb them forward.
- Sweep all the hair to the side opposite to where you want the bangs to fall. If you want them on the right, sweep them to the left.
- Pinch that section firmly right in front of your face. Block your vision slightly. It helps you find the right length.
- Cut vertically at the tip of your nose.
Yes, your nose. It’s a reliable landmark. If your nose is crooked, measure against your eye or eyebrow instead.
- Release the hair. Let it fall back to the side you intended.
- Grab a round brush and a blow dryer.
Style it. Watch the volume pop. You just gave yourself a salon cut for the price of a pair of scissors.
It’s not perfect. It might be a millimeter off. But it’s yours. And tomorrow, you can tweak it.